Friday, May 27, 2016

Final Kitchen Reveal!

Finally, the kitchen is done!!! I just have to fill nail holes and paint baseboards, paint the basement door and replace the doorknob, and replace the window above the sink. I know that sounds like a lot, but after 4 weeks I am just happy I can use the kitchen again.  I'm also shocked that we finished on schedule - in time for Memorial weekend.  Well, what do you think?


As I began moving everything back into the kitchen, I thought it was a good time to organize and get rid of things I don't need. I wanted to begin decorating the new kitchen and the first thing I added was my antique silver teapot.  I placed it on the stove.  It has been in all my kitchens over the years. I use it to hold my wooden spoons. I also added a candle to the island and a rag rug by the sink and dishwasher to catch any water and dirt before it hits the hardwood floor.


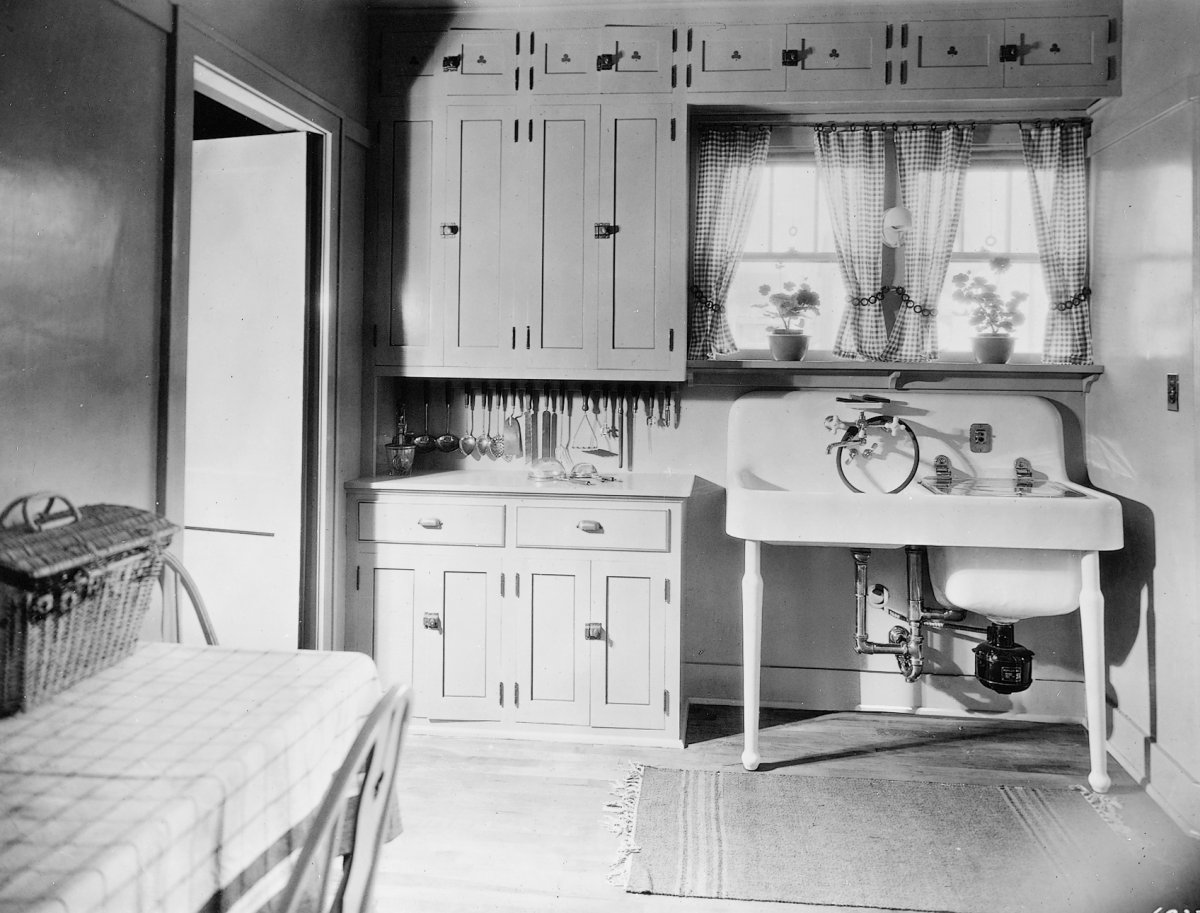
I didn't want to put too many things on the countertop because they get cluttered very quickly.  Original 1910 kitchens were small and really didn't have much counter space.  They had a large drainboard sink, a Hoosier cabinet, a small table, and a gas cast iron stove.  I know that my kitchen doesn't look like an original 1910 foursquare kitchen. I imagine if I made it that way I would miss the luxury of modern kitchen appliances.  I really tried to hint to 1910 though with the shaker cabinets and original hardwood floors.


Back in 1910 much of the prep work and bread kneading was done on a little table in the middle of the kitchen.  My island acts as that table/furniture and with the butcher block top it really does allow me to cut and prep there.  The new cabinet reminds me of a hoosier cabinet now that the L-shaped section is gone. All in all it is a good mix of new and old elements.  I selected some very simple light fixtures and added edison bulbs to match what I have in the dining room.

Here is one last look of the kitchen before and after...


My kitchen window still needs to be replaced.  I don't know if you can tell from the photo above, but it is an old crank out window turned sideways and painted shut.  Someone years ago must have found it on the curb and figured out a way to use it.  I can't even open it.  I have a new window ordered, but it is custom, so it will be another month before it is installed. I want to make use of this leaded glass window (below) that is currently in our garage.  I fear that it will break soon and want to restore the window and use it in the house.


This is what I'm thinking of doing with it in the kitchen.  A new working window will be installed and the window from the garage will hang in front of the new window.  I really hope it turns out the way I'm imagining it in my head.  I will post photos as soon as the window is installed.


I'm really happy with the way our little kitchen turned out and I can't wait to begin cooking again... although I really don't want to get it dirty ;)  Our dining room is back to normal as well.  I really felt like a hoarder every time I went in the dining room.


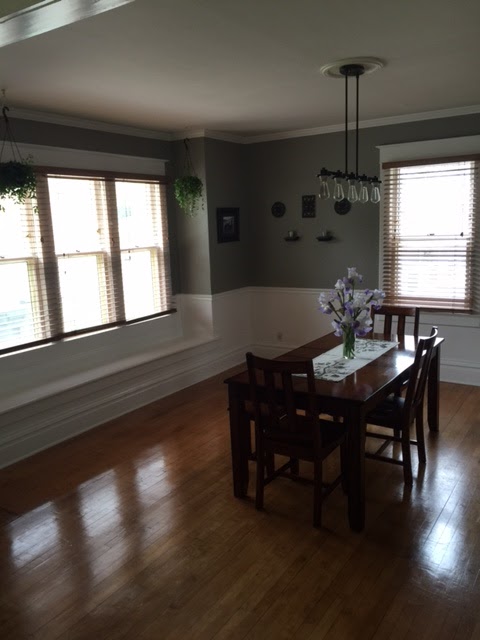
I'm enjoying these photos of the clean dining room because in a matter of minutes I know there will be toys and things everywhere.

Thanks for reading my blog and coming along on this journey through our kitchen remodel.

Take care,
Sadie

Monday, May 16, 2016

The Kitchen Sink- Oops! A bad decision

Here is the old kitchen sink...


I made a bad decision on the sink and faucet. I was so frustrated with my old cracked and stained white cast iron sink that I thought that maybe I should go with stainless instead.  I knew I couldn't do a farmhouse sink without redoing the sink cabinet...and that wasn't in our budget.  The plumber pointed out that I have stainless appliances and a stainless sink and faucet would look best, so I went ahead and had him order it.

When they installed it I knew I made the wrong choice.  I even did dishes in it and tried to like it...after all it was a new sink and better than the sink I used to have.  I felt terrible, but I called the plumber and told him I needed the sink changed.

I looked at pictures of kitchens from 1910 and noticed that all the sinks were white drainboard sinks with chrome faucets...


After talking with friends (thank you Kelly Lundin and Courtney Downs!) I decided to have the stainless sink and faucet removed and replace it with a white sink and polished chrome faucet.  This looks much better and the finish on this sink isn't supposed to crack or stain.


It isn't a drainboard sink from 1910, but seems to fit the rest of the house and kitchen better than the stainless steel. All of our bathrooms have white sinks and chrome faucets too.  I don't know why I didn't make that connection from the start. Live and learn. There were bound to be mistakes.

Final kitchen photos coming soon!  Just waiting on finishing touches this week.  If you get a minute take a look at my "Doors and Floors"post from last week.  I just added a final photo of the stained floors.

Thanks for reading my blog!  -Sadie

Wednesday, May 11, 2016

Kitchen - We have doors and floors!


I'm just doing a quick post here so you can see the progress on our kitchen remodel.  There are so many things happening this week it is hard to keep up.  I'm just going to give you some before, during and after photos of the transformation.  

Kitchen cabinets before…


 Kitchen cabinets after…


Countertop before...

Countertop after...


Flooring before…

Flooring during demo

Flooring after sanding and repairs...
   

Scott Wilson and his crew finished staining and coating the floors.  They turned out amazing! What a difference! There are imperfections and nails in the 100 year old floor, but I was hoping for that. I didn't want a new floor; I wanted the original. These floors had been buried and neglected for a very long time, but now they are beautiful again.


Thursday, May 5, 2016

Kitchen - Hardwood Floors


Kitchen 

Hardwood Floors


Thank you to those of you who are taking time to read this and follow my house blog.  I enjoy documenting these house projects and appreciate your support and comments.

Today Scott Wilson removed the linoleum and particle board subfloor and uncovered the original hardwood floors.  I thought they looked really bad, but Scott gave me hope that he can make them look new again.  


There is a 3ft x 2ft spot by the basement door where the floor boards were missing and a piece of plywood was added.  Scott will have to take that out and add new maple boards.  The area in front of the sink and dishwasher was water damaged and since it lines up with the other repair I decided to have those boards removed and replaced as well.  


I would say about 85% of the kitchen's hardwood floor is in good shape and should sand and stain well.  That is fantastic news!  All of the staples (and there seem to be a million of them) will need to be removed by hand.  The floors will be repaired, sanded, stained, and coated so they can last another 100 years. This process will take about another week.  Then I will be able to put my kitchen back together.


As I watch these tradesmen work on our home I'm in awe of their craft.  They have years of experience and make all of this look easy.  I realize that this is not easy at all and it is hard to be on their knees doing back-breaking work every day.  My father spent years down in the bottom of ships kneeling on the cold steel at the Sturgeon Bay ship yard.  His knees are shot.  Some people might think why would anyone want to do that?  Well, they enjoy what they do and they can make a good living at it.  Their work ethic and dedication to their jobs inspires me.  Like me they enjoy hard work and bringing old homes back to life. I'm thankful and grateful to have them working on our home.

Progress in the Kitchen

Progress in the Kitchen

Living through the demo and construction

Well, it has been a busy week.  If you are looking for a beautiful kitchen reveal you will be disappointed.  This is a very slow process. It took us a weekend to clear out all cupboards, turn our dining room into a makeshift kitchen, clean and prep the cupboards and begin painting.

Check out the amazing power of white paint.  These old cupboards, with nasty cat puke interiors, look new and clean again.  They were really gross inside. I'm slowly making progress during Maddie's nap time. It has taken 3 coats of paint and primer and a ton of patience on each cabinet.  


The area under the sink was especially bad. I removed this old water damaged liner and replaced it with some extra vinyl floor tiles that I had in the basement.  This should help to protect the cabinet. This is always difficult area to keep clean. I hope to put my cleaning supplies in plastic organizers from the dollar store when I put the kitchen back together.  Our old sink was removed. It had a large crack in it and was stained so bad that Barkeeper's Friend couldn't even get it clean.  Our faucet had a constant drip and was pretty worn out too. 


Our tiny bathroom sink is where I now wash dishes until the new sink and counter are installed.  I'm using the window seat in the dining room to hold all our pantry items.  The only problem with this is Maddie gets into everything.  Here she thinks she should have marshmallows for breakfast.  Ugh!  It is the perfect height for her... a Las Vegas buffet for babies.


Jim Sollberger came over with all his powerful tools and removed that terrible L-Shaped cabinet, counter and sink.  He had to take our kitchen out in pieces.  I would say it looks better, but it's a disaster!  Maybe "spacious" is a better way to describe our kitchen.


Removing the cabinet revealed a bit of the original hardwood flooring.  It looks like we will need to do some patching. There is some water damage near the dishwasher as well.  I'm crossing my fingers that we can salvage the original hardwood. Scott Wilson  http://www.wilsonwoodfloors.com/ will remove the old flooring and evaluate the situation. 

Say some prayers folks.  Living through all this demo and construction is not easy.